
Make sure your Blue Iris server is connected to the internet.
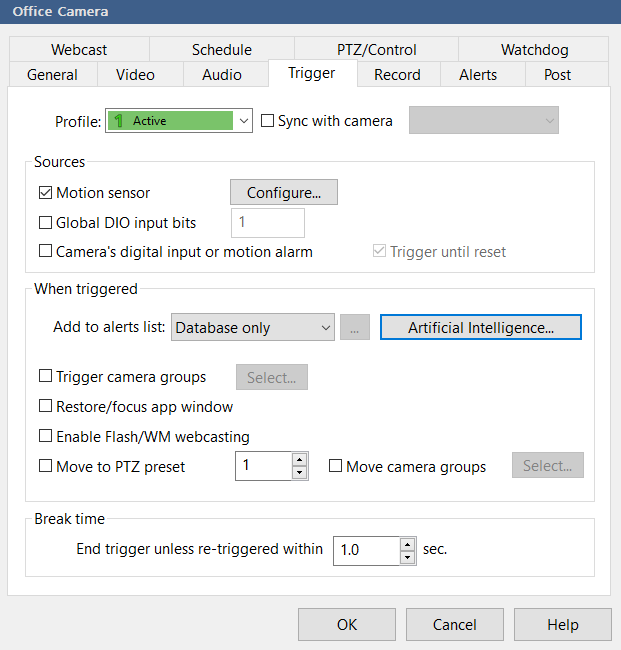
Open Camera settings – From the Trigger dialogue open Artificial Intelligence options.
Turn on Sentry Smart Alerts person-detection. Make sure “Replace alert email/SMS text with Sentry status.” is checked.
The Sentry ID confirms the Blue Iris application can talk to the Sentry services and Sentry is ready to receive requests from Blue Iris. The first time you activate Sentry AI, your 1-day demo will start automatically and you can receive smart alerts through Email/SMS right away. Sentry AI and Blue Iris don’t collect any information to start the demo. If you like Sentry AI’s performance, click on “Learn more” any time to be redirected to the Purchase page to start 7-day free trial.
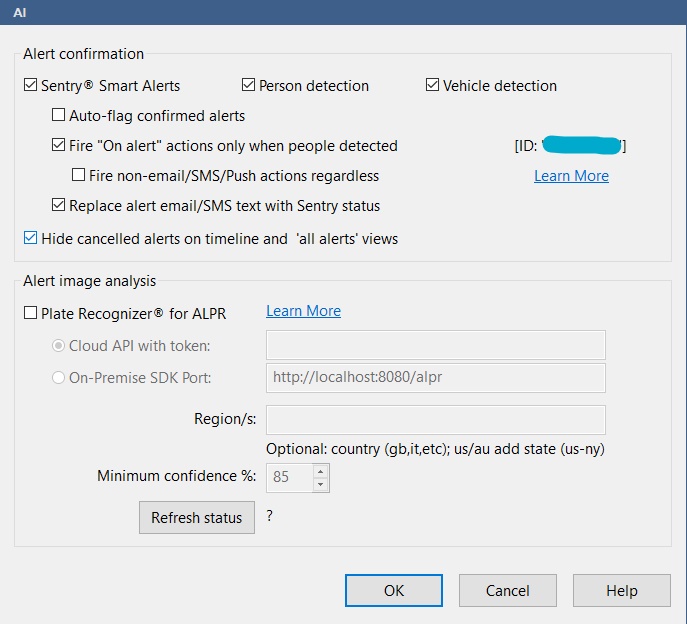
Auto-flag Confirmed Alerts:
If you select to Auto-flag confirmed alerts, these alerts will also be added to the Flagged
database view. You will be able to use the flag icon at the top of the clips list or in the iOS
or Android app to quickly get a list of only Sentry-confirmed alerts.
Fire “On alert” actions only when people detected
By default, Sentry screening is used to cancel alerts. By un-checking the Fire “On alert”
actions only when people detected option, you can override this behavior and receive
alerts regardless. As a compromise, you may also select to only Fire non-Email/SMS/Push
actions.
Replace alert email/SMS text Sentry status
The default behavior for Sentry alerts is to Replace alert email/SMS text Sentry status
information.
Hide cancelled alerts
By default, when AI cancels an alert, its image is also removed from the default Alerts list
and from the timeline both locally and on the phone apps. You may still view these alert
images by selecting the “cancelled alerts” view in the clips list